Record an Audiobook at Home A Complete Guide

Ready to turn your book into an audiobook? You've come to the right place. All you really need to get started is a quiet room, a decent microphone, and a solid game plan for recording and editing. It might sound daunting, but with the right tools and a bit of guidance, you can absolutely produce a professional-quality audiobook from home.
Your Guide to a Professional Home Audiobook
So, you want to record your own audiobook. Great choice. This guide is designed to walk you through the entire process, from turning a closet into a makeshift studio to hitting that final export button. We'll break everything down into simple, practical steps, so even if you've never touched a microphone before, you'll feel confident.
The audiobook world is booming. Seriously. With everyone listening on their phones and smart speakers, the demand for audio content is through the roof. The market is projected to hit an eye-watering USD 17.18 billion by 2030. Now is the perfect time to jump in and get your voice heard.
Why Bother Recording It Yourself?
Going the DIY route for your audiobook gives you one massive advantage: total creative control. You get to decide exactly how your story sounds, ensuring the narration is true to your vision. It’s also way more budget-friendly than shelling out for a professional production house, which can be a huge hurdle for indie authors.
But it's not just about saving money. When you narrate your own work, you create a unique bond with your listeners. They're hearing the story straight from the source, which adds a layer of authenticity that's hard to beat. You can dive deeper into the benefits of audiobooks in our detailed article.
What You'll Learn Here
Think of this guide as your personal roadmap. We’ll cover the core pillars of audiobook production, making sure you know exactly what to do at every stage.
Here’s a quick look at what we'll cover:
Setting the Scene: How to turn a regular room into a recording-ready space.
Finding Your Voice: Tips for delivering a performance that keeps listeners hooked.
Recording with Confidence: Using today's tools to capture clean, crisp audio without the headache.
Polishing Your Audio: The editing essentials to make your audiobook sound pro.
My goal here is simple: to give you a straightforward, no-fluff guide to producing an audiobook you can be proud of. Every tip is practical and designed to help you build the skills and confidence to succeed.
By the end of this, you’ll have a clear path from manuscript to finished audiobook. Modern tools have made this journey easier than ever, helping you manage scripts and streamline the entire recording process. To get a head start, go ahead and Download Speak4Me free on iOS.
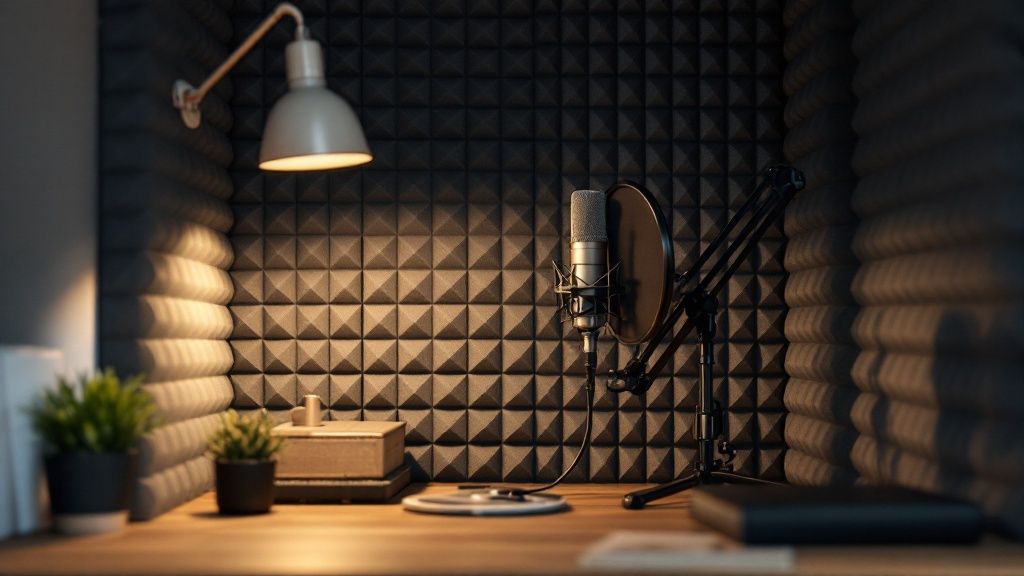
Setting Up Your Home Recording Space
Let's clear up a common myth: you don't need a professional, soundproofed studio to record a great audiobook. What you do need is a controlled space. The single biggest culprit behind amateur-sounding audio isn't a cheap microphone; it's a bad room. Hard surfaces like bare walls, wood floors, and big windows are your enemy—they bounce sound around, creating that echoey, hollow reverb that screams "this was recorded in a bathroom."
Your mission is simple: create a space that absorbs sound instead of reflecting it. This is called acoustic treatment, and it's way easier (and cheaper) than you think. You probably already own everything you need.
Creating Your Makeshift Studio
Believe it or not, the best spot for recording is often the smallest, most cluttered room you have. For DIY narrators, a walk-in closet is the holy grail. All those hanging clothes are natural sound dampeners, soaking up reflections and killing the room's natural echo.
No closet? No problem. Just find the smallest, most furnished room available. Here are a few battle-tested tricks to treat your space on a budget:
Hang Heavy Blankets: This is my go-to move. Drape thick blankets or comforters over your walls and doors. It’s one of the most effective ways to stop sound from bouncing.
Bring in the Soft Stuff: Grab pillows, couch cushions, or even a spare mattress and pile them up around your recording spot. The more soft surfaces, the better.
Treat the Floor: If you’re working on a hardwood or tile floor, throw down a thick area rug or a few more blankets. You have to stop sound from reflecting up from below, too.
The goal here is to create a "dead" space where your voice is captured cleanly, without any of that distracting room noise. Not sure if you've done enough? Try a quick clap test. If you hear a sharp, ringing echo, add more soft materials. If the clap sounds tight and short, you're ready to roll.
Choosing the Right Microphone
Once your space is prepped, it's time to talk gear. This is where a lot of beginners get bogged down, but the choice is actually pretty straightforward. You're really just looking at two main types of microphones: USB and XLR.
A USB microphone is the definition of plug-and-play. It connects right to your computer’s USB port, and you’re good to go. They’re incredibly user-friendly, affordable, and honestly, the quality you can get from them today is fantastic. For your first audiobook, this is the way to go.
An XLR microphone is what you’ll find in a pro music studio. It requires a separate piece of gear called an audio interface to connect to your computer. While this setup gives you more control and can offer slightly higher audio fidelity, it also comes with a steeper learning curve and a bigger price tag. A great USB mic is more than capable of delivering professional results.
Don't get caught up in gear acquisition syndrome. A $100 USB microphone in a well-treated room will always sound better than a $1,000 XLR microphone in a noisy, echo-filled space. Your environment is more important than your equipment.
Essential Gear for Your Home Studio
To build a solid recording setup, you'll need more than just a microphone. Here's a quick rundown of the essential equipment, from beginner-friendly options to more advanced setups.
Essential Audiobook Recording Equipment
Equipment | What It Does | Beginner Recommendation | Why It's Important |
|---|---|---|---|
Microphone | Captures your voice. | A quality USB Microphone (e.g., Blue Yeti, Audio-Technica AT2020+) | The heart of your setup. A good USB mic provides excellent quality without needing extra hardware. |
Pop Filter | Softens harsh "p" and "b" sounds (plosives). | A simple mesh or metal pop filter that clamps to your mic stand. | Prevents distracting popping noises that are very difficult to remove in editing. |
Mic Stand | Holds the microphone steady. | A basic desktop or floor stand. | Keeps the mic at a consistent distance from your mouth for even volume and prevents handling noise. |
Audio Interface | Connects an XLR mic to your computer. | Focusrite Scarlett 2i2 | Only needed for XLR mics. It converts the analog signal to digital and provides better control. |
This table covers the core components you'll need to get started. Focus on getting a good USB mic, a pop filter, and a stand, and you'll have a rock-solid foundation.
Two Accessories You Absolutely Cannot Skip
Speaking of gear, a microphone by itself is not enough. There are two inexpensive accessories that are completely non-negotiable if you want clean audio.
A Pop Filter: This is the screen that sits between your mouth and the mic. It breaks up the burst of air from plosive sounds—think the "p" in "pop" or the "b" in "book." Without one, those sounds will hit the microphone's diaphragm and create a loud, distorted thud that ruins the take.
A Microphone Stand: Do not, under any circumstances, try to hand-hold your microphone. A stand keeps the mic perfectly still and at a consistent distance from you, which is the key to maintaining even volume levels. It also completely eliminates any rustling or thumping noises from your hands.
With a well-treated room and the right basic gear, you’re setting yourself up for success. Taking the time to get this right will save you countless hours of headaches during the editing phase. Once your hardware is ready, it’s time to manage your script and start recording. A dedicated tool can really help here. Get your sessions organized and Download Speak4Me free on iOS to keep your project on track.
Finding Your Voice and Mastering Narration
Okay, your home studio is all set up. Now comes the fun part—the performance. The gear and the quiet room are your foundation, but your voice? That's the soul of the audiobook. This is where you stop being a technician and start being a storyteller, turning words on a page into something that grabs a listener and doesn't let go.
Mastering narration isn't about having a deep, booming "radio voice." It's about connection. It's about consistency. And it's all about the performance. Your journey to a great recording starts long before you hit that red button. Good preparation is what separates a smooth, professional-sounding audiobook from one that feels like a long, frustrating slog to get through.
Prepping Your Script for Performance
Whatever you do, don't just open the manuscript and start reading cold. Reading a script for narration is a completely different skill from reading for pleasure. You need to get in there and mark it up with cues that will guide your delivery.
Think of it as creating a roadmap for your voice. Grab some highlighters or colored pens and start annotating:
Pauses: Mark where you need to take a natural breath or create a moment of dramatic tension.
Emphasis: Underline the specific words or phrases that need to carry more emotional weight.
Pacing: Make notes in the margins for sections that need to speed up for excitement or slow down for a thoughtful moment.
Dialogue: Assign a different color to each character. This simple trick makes it so much easier to switch between voices consistently.
Doing this prep work ahead of time is a game-changer. It helps you keep a natural, conversational flow and ensures your performance sounds consistent from the first chapter to the last. For a little inspiration on how to lay out your thoughts, check out these helpful voice-over script examples.
Warm Up Your Most Important Instrument
You wouldn't run a marathon without stretching, right? The same principle applies here. A narrator has to warm up their voice before every single recording session. A "cold" voice is just asking for trouble—it can strain easily, sound thin, and will tire out way faster than you'd expect.
Just five or ten minutes of simple vocal exercises can make a huge difference in your endurance and the quality of your delivery.
Try these quick warm-ups:
Lip Trills: You know, the "motorboat" sound. Just blow air through your lips so they flap together. It sounds silly, but it's fantastic for relaxing your lips and facial muscles.
Humming: Start with a gentle "hmmm" and slide your voice up and down your natural range. This is a great, low-stress way to get your vocal cords vibrating.
Tongue Twisters: Fire off a few classics like "Peter Piper picked a peck of pickled peppers." This is all about waking up your mouth and sharpening your articulation.
Remember, the goal of a warm-up isn't to perform. It's just a gentle prep session. It protects your voice and helps you record for longer stretches with consistent energy and clarity.
Finding Your Narrative Pace and Rhythm
One of the most common mistakes I see new narrators make is rushing. They read too fast. Your pacing sets the entire mood of the book and has a massive impact on whether your listener can actually follow along and stay engaged.
A good pace is steady and deliberate. It gives the story room to breathe.
To find your own rhythm, try reading a few paragraphs out loud and timing yourself. You're looking for a speed that feels conversational and comfortable, not like you're just rattling off a list. And don't forget to use pauses! They are just as powerful as the words you're saying. A well-timed pause can build suspense, drive a point home, or just give the listener a second to digest a big idea.
This is especially true for fiction, which absolutely dominates the audiobook world. In North America, fiction accounts for over 64% of the market share because listeners are looking for an escape. With the US audiobook market projected to grow at an incredible 24% CAGR, there's a huge audience hungry for well-told stories. Nailing your pacing is how you connect with them.
The Art of Differentiating Characters
If your book has multiple characters, you've got to give each one a distinct voice. But hold on—this doesn't mean you need to be a world-class impressionist. In fact, going way over the top with zany, cartoonish voices can be really distracting and, more importantly, can absolutely shred your vocal cords.
The secret is subtlety. Instead of making huge changes to your voice, focus on small, consistent adjustments:
Pace: Have one character speak just a bit faster, and another more slowly and deliberately.
Pitch: Slightly raise or lower your natural pitch. A little goes a long way.
Attitude: This is the big one. Let the character's personality color their speech. Are they confident? Nervous? Angry? Let that come through in your tone.
These small shifts are more than enough for a listener to tell characters apart without you risking vocal fatigue. Clarity, consistency, and a real emotional connection to what you're reading—those are your true keys to a great performance. To keep your script organized and ready for the booth, Download Speak4Me free on iOS.
A Smarter Way to Record Your Audiobook
Okay, you've prepped your recording space and warmed up your voice. Now for the main event. All that preparation is about to pay off as you turn the words on the page into a living, breathing performance. The secret to how you record an audiobook isn't about having the fanciest gear; it’s about having a smart, repeatable workflow.
Hitting that record button for the first time can be a little nerve-wracking. The trick is to break the project down. Don't think of it as one massive book you have to get through. Instead, tackle it in smaller chunks—chapter by chapter, or even scene by scene. This not only keeps you from burning out but also makes the editing process feel much less intimidating down the line.
Setting Your Levels for Clean Audio
Before you even think about reading your manuscript, you need to get your recording levels right. This is non-negotiable. If your audio is too quiet, you'll hear a ton of background hiss when you try to turn it up later. But if it's too loud, you get clipping—a nasty digital distortion that sounds terrible and is impossible to fix.
You're looking for the sweet spot. Speak into your mic at your normal narration volume and watch the audio meter in your software. You want the signal to consistently bounce between -12dB and -6dB. When you get to a louder part, like an excited exclamation, the peak should never go past -3dB. This buffer, called headroom, is your safety net for clean, professional-sounding audio.
A classic rookie mistake is setting your levels once and then forgetting about them. Your voice and energy will naturally change during a long session. I always recommend doing a quick level check before starting a new chapter or after you take a break. It keeps everything consistent.
A Streamlined Recording Workflow
Let’s be honest: juggling a script, a microphone, and your recording software can feel like you need a third hand. This is where a good tool can make a world of difference, letting you focus on your performance instead of just managing files.
This is exactly what Speak4Me was designed for. Instead of dealing with printed pages or another screen, you can have your script right inside the app. This creates a seamless flow where you read and record all in one place, keeping everything tidy. It’s also handy to convert PDF scripts into audio, which is great for reviewing your own pacing when you’re away from the mic.
This infographic breaks down the core techniques to keep in mind before you start any recording session.
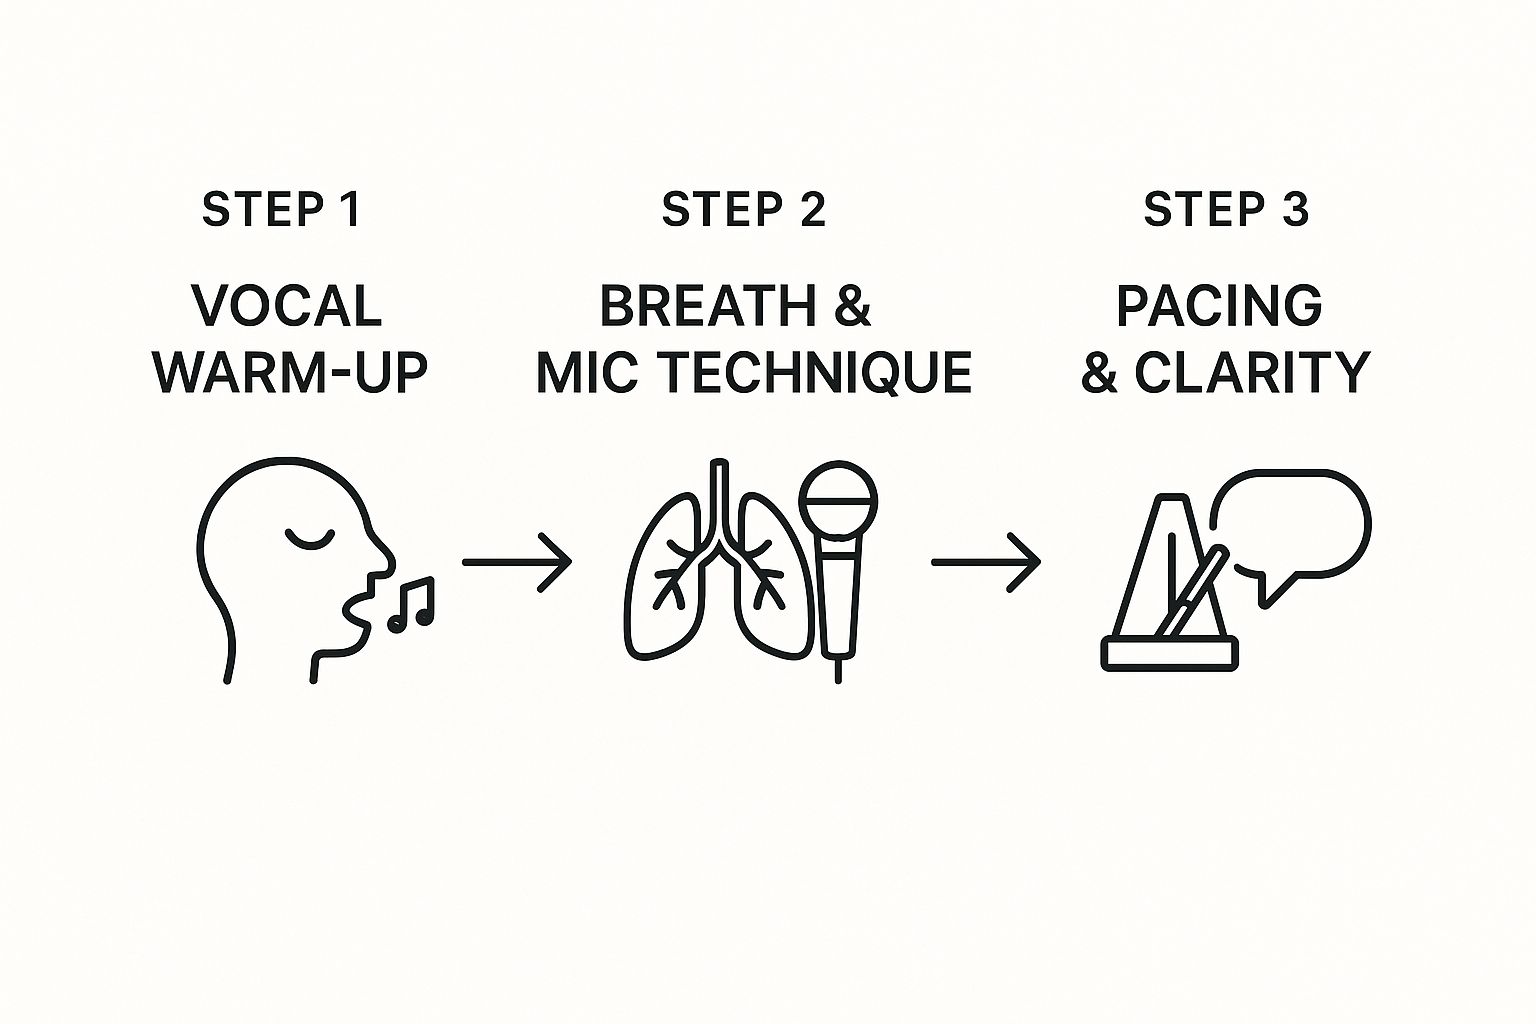
As you can see, a great session always starts with getting your voice ready, knowing your mic technique, and focusing on clear, steady delivery.
Professional Techniques for Efficient Sessions
Want to save yourself a ton of time during editing? Try adopting a couple of simple tricks that the pros use. These will help you handle mistakes without killing your momentum.
Use a Pre-Roll: Before you start a sentence, leave a few seconds of silence. This captures the unique "room tone" of your space, which is pure gold for editing out unwanted noises later.
Mark Your Mistakes: When you mess up a line (and you will), don't stop recording. Just pause for a second, make a sharp, distinct noise—like a clap or a tongue click—and then repeat the line correctly. This creates a big, obvious spike in the audio waveform, making it super easy to find and cut the mistake later.
These little habits might feel small, but they add up to hours saved in post-production. You'll be able to quickly scan for your markers and edit efficiently instead of having to listen back to every single second of raw audio.
By nailing your levels, creating an organized workflow, and using these simple pro techniques, you'll have a recording process that’s both effective and a lot less stressful.
Polishing Your Performance: A Guide to Editing and Mastering
So, you’ve recorded your narration. That's a huge milestone, but the work isn't quite done yet. What you have now are the raw ingredients—the uncut gems. Post-production is where you’ll polish them into a finished, professional-sounding audiobook.
This is the part of the process where you put on your audio engineer hat. It involves two main phases: editing and mastering. It might sound intimidating, but it's really just about cleaning up the audio and making sure it sounds great for your listeners. Let's walk through it.
The Cleanup Phase: Getting Rid of the Gunk
Your first pass through the audio is all about subtraction. You're going to remove all the little things that don't belong, the tiny distractions that can pull a listener right out of the story.
This is where you'll be listening with a critical ear. Here’s what to hunt for:
Flubbed Lines: Remember those clap markers you made? Now's the time they save you hours. Just scan through the waveform for those visual spikes, find the mistakes, and chop them out, leaving only your best takes.
Mouth Noises: Clicks, pops, and overly loud breaths are a natural part of speaking, but they can be incredibly grating in a pair of headphones. Most audio editing software has tools to help you soften or remove these without making you sound like a robot.
Weird Pauses: Sometimes a pause that felt natural during recording sounds awkwardly long on playback. Your job is to tighten these up to keep the narrative flowing at a smooth, conversational pace.
This initial cleanup can feel a bit tedious, I'll admit. But this is where you lay the foundation for a professional product. Every minute you spend here pays off in the final listen.
Shaping Your Sound: The Magic of EQ and Compression
With the mistakes and noises gone, it's time to start enhancing what's left. You're moving from cleanup to shaping. You don't need a degree in audio engineering for this; understanding just two tools will get you 90% of the way to a studio-quality sound.
Those two workhorses are Equalization (EQ) and Compression.
Equalization (EQ): Think of EQ as a highly specific tone control. It lets you adjust the volume of different frequencies. For example, you might use it to dial back a bit of a low, boomy rumble from your room or add a tiny bit of high-end sparkle for extra clarity on your consonants.
Compression: This tool is your secret weapon for consistency. A compressor automatically turns down the loudest parts of your speech and turns up the quietest parts. This is crucial for audiobooks, ensuring your listener doesn't have to constantly adjust their volume, whether you're whispering a tense secret or shouting a battle cry.
A word of caution from experience: it's incredibly easy to overdo it. The goal here is subtle enhancement, not a total transformation of your voice. When in doubt, a lighter touch is always better. You want to sound like a clearer, more consistent version of yourself, not a heavily processed recording.
The Final Polish: Mastering for Distribution
Mastering is the final quality check before you send your audiobook out into the world. Its main purpose is to make sure your files meet the very specific technical requirements of distributors like ACX, Apple Books, and others.
It really comes down to hitting two key targets:
Peak Volume: This measures the absolute loudest spike in your audio. Platforms demand that your audio never goes above a certain ceiling (usually -3dB) to avoid nasty digital distortion on the listener's end.
RMS Level: Root Mean Square, or RMS, is a way of measuring the average volume. Distributors have a required range (typically -18dB to -23dB) to ensure every audiobook on their platform has a similar perceived loudness. This way, listeners aren't jolted when a new book starts.
This sounds more technical than it is. Most modern audio editors have built-in tools or presets designed specifically for audiobook mastering that make hitting these numbers pretty simple. It's the final step that ensures your book sounds just as good as anything coming out of a major studio.
Once your files are edited, shaped, and mastered, you’ll export them in the required format—almost always 192kbps MP3 files at 44.1kHz. With that final, polished audio in hand, you're ready to publish. And to make the entire journey from script to finished file feel less overwhelming, having the right tool to keep you organized is a game-changer. Download Speak4Me for free on iOS to streamline your next audiobook project.
Your Audiobook Recording Questions, Answered
Diving into your first audiobook project is exciting, but it's totally normal to have a ton of questions. I've been there. From figuring out how long it'll really take to sidestepping common pitfalls, getting some clear answers upfront can make the whole thing feel a lot less intimidating. Let's tackle some of the most frequent questions I hear from new narrators.

How Long Does It Really Take to Record an Audiobook?
A good rule of thumb in the industry is the 2:1 ratio. Simply put, for every hour of finished audio you want to produce, expect to spend at least two hours working on it. That time isn't just you behind the mic; it covers prep, recording, and all the crucial post-production work like editing and mastering.
Let's put that into perspective. A 100,000-word book usually pans out to about 10 hours of final audio. Using our ratio, you’re looking at a commitment of around 20 to 22 hours. This can definitely shift depending on how experienced you are and how complex the book is, but it’s a solid starting point for your schedule.
What are the Most Common Beginner Mistakes?
I see new narrators run into the same few obstacles time and again. Knowing what they are ahead of time can save you countless hours of re-recording and frustration.
Here are the big ones to watch out for:
Ignoring Room Acoustics: Nothing screams "amateur" louder than echo. An untreated room with hard, flat surfaces will bounce sound all over the place. Soften your space!
Wildly Inconsistent Audio Levels: If your recording is too quiet, you'll get a ton of background hiss when you turn it up. Too loud, and it distorts into a clipped, crunchy mess. Always run a sound check.
Uneven Pacing: Rushing through sentences or having a choppy rhythm makes it hard for listeners to get lost in the story.
Loud Mouth Noises: Clicks, pops, and heavy breaths are incredibly distracting. A pop filter and good mic technique are your best friends here.
A huge misstep is underestimating the time required for editing. Many beginners focus solely on the recording performance, only to be overwhelmed by the cleanup process later. Patience in post-production is just as important as energy in the booth.
Do I Need to Hire a Professional for Editing?
While hiring a pro audio engineer is a surefire way to get a polished, retail-ready final product, it’s not your only option. If you're on a budget, you can absolutely learn to edit your own audio, especially with the user-friendly tools available today.
The trick is to be patient and work methodically. Start with the basics—focus on cleanly cutting out your mistakes, dialing back any background noise, and making sure your volume is steady from start to finish. Plenty of successful indie authors and narrators handle their own post-production, and with a little practice, you can too.
Juggling your script, the recording, and all the editing can feel like a three-ring circus. Speak4Me is designed to keep everything organized in one spot, which really helps smooth out the process. Ready to get started with confidence? Download Speak4Me free on iOS.
Try Speak4Me for Free
